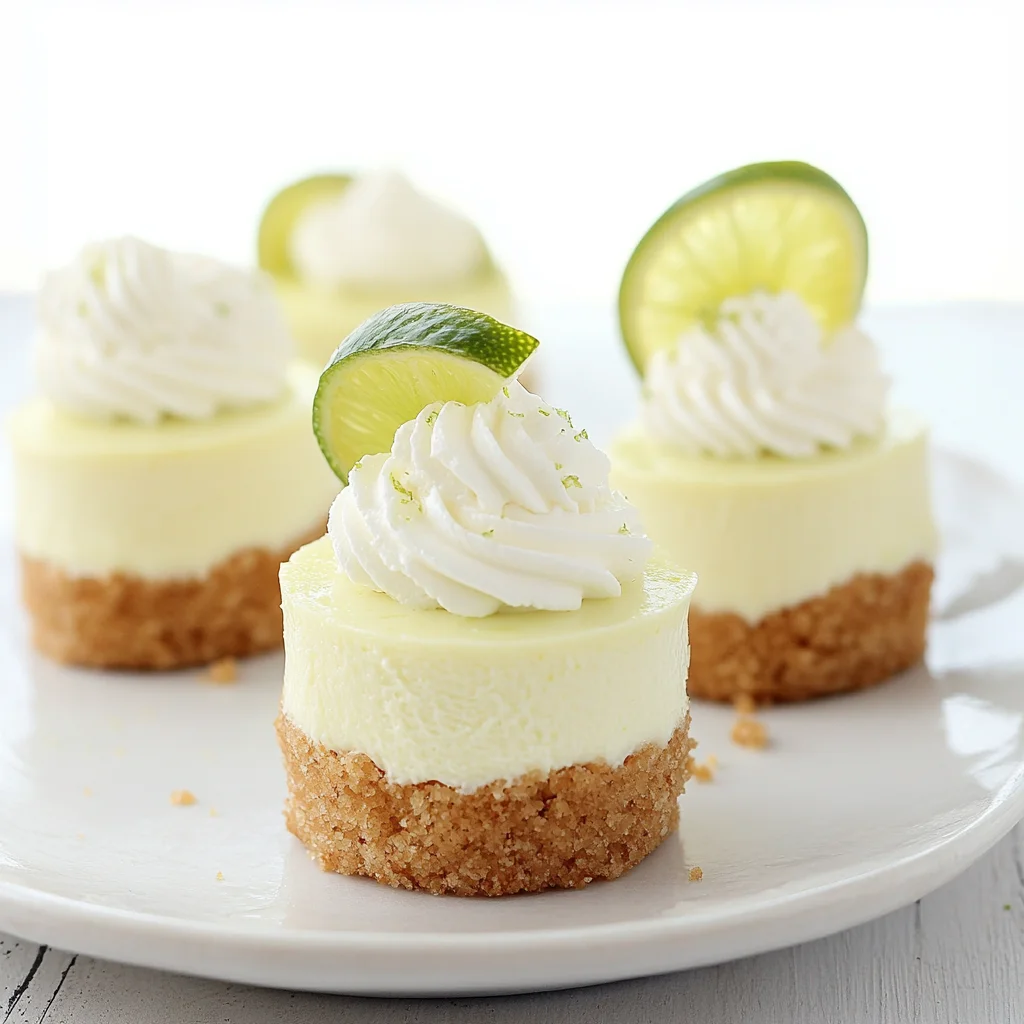
These Mini Key Lime Cheesecakes are a delightful treat that brings a burst of citrus flavor in every bite. Perfect for any occasion, from casual family gatherings to festive celebrations, these mini desserts stand out with their creamy texture and zesty lime essence. The homemade graham cracker crust adds a delightful crunch, making them a favorite among cheesecake lovers!

Jump to:
- Why You’ll Love This Recipe
- Tools and Preparation
- Essential Tools and Equipment
- Importance of Each Tool
- Ingredients
- For the Crust
- For the Cheesecake Filling
- For Garnish
- How to Make Mini Key Lime Cheesecakes
- Step 1: Preheat the Oven
- Step 2: Make the Graham Cracker Crust
- Step 3: Prepare the Cheesecake Filling
- Step 4: Fill and Bake
- Step 5: Cool and Chill
- Step 6: Serve
- How to Serve Mini Key Lime Cheesecakes
- With Fresh Berries
- Topped with Whipped Cream
- Drizzled with Sauce
- Served in Individual Cups
- How to Perfect Mini Key Lime Cheesecakes
- Best Side Dishes for Mini Key Lime Cheesecakes
- Common Mistakes to Avoid
- Storage & Reheating Instructions
- Refrigerator Storage
- Freezing Mini Key Lime Cheesecakes
- Reheating Mini Key Lime Cheesecakes
- Frequently Asked Questions
- What are Mini Key Lime Cheesecakes?
- Can I make these Mini Key Lime Cheesecakes ahead of time?
- Can I use regular limes instead of key limes?
- How do I know when my Mini Key Lime Cheesecakes are done?
- What toppings go well with Mini Key Lime Cheesecakes?
- Final Thoughts
- 📖 Recipe Card
Why You’ll Love This Recipe
- Quick to Prepare: These mini cheesecakes come together in just 20 minutes of prep time, allowing you to whip up a delicious dessert without spending hours in the kitchen.
- Perfectly Portion-Controlled: Each cheesecake is individually sized, making it easy to serve at parties or enjoy as a sweet snack without overindulging.
- Zesty Flavor: The combination of key lime juice and zest infuses these cheesecakes with refreshing citrus notes that brighten any dessert table.
- Versatile Serving Options: Serve them plain or topped with whipped cream and fresh fruit for added flair—great for impressing guests!
- Make-Ahead Friendly: These cheesecakes can be made in advance and stored in the fridge, making them an ideal choice for busy schedules.
Tools and Preparation
Before diving into the recipe, gather your tools to ensure a smooth baking experience.
Essential Tools and Equipment
- Mini cheesecake pan
- Blender or food processor
- Mixing bowls
- Stand mixer or electric mixer
- Rubber spatula
Importance of Each Tool
- Mini cheesecake pan: This specialized pan helps create perfectly shaped mini cheesecakes that hold their form during baking.
- Blender or food processor: Essential for achieving fine graham cracker crumbs for the crust, ensuring a consistent texture.
Ingredients
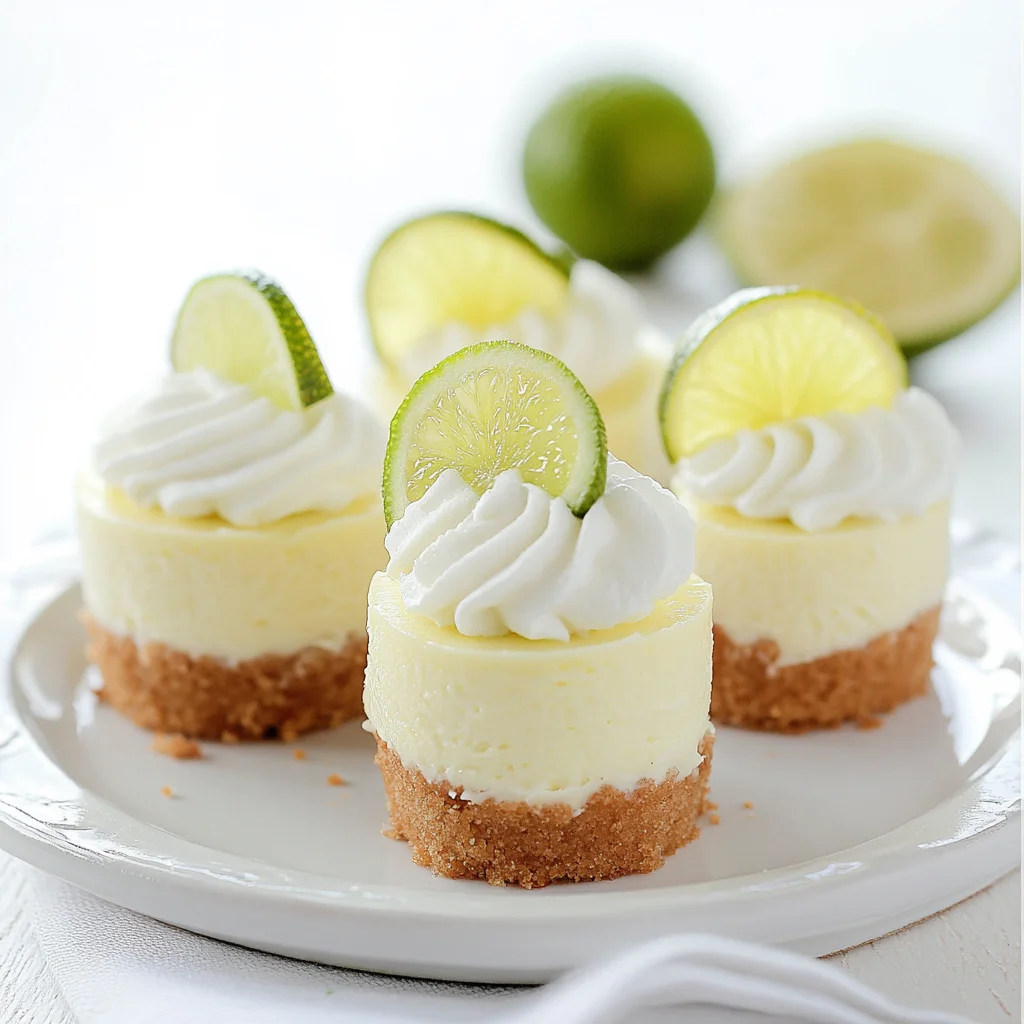
These Mini Key Lime Cheesecakes feature an easy homemade graham cracker crust topped with a smooth and creamy key lime cheesecake filling. The perfect dessert for any time of year!
For the Crust
- 6 full-sheets (90 grams) graham crackers (or 3/4 cup graham cracker crumbs)
- 3 tablespoons (45 grams) butter (melted)
- 2 tablespoons (25 grams) granulated sugar
For the Cheesecake Filling
- 12 ounces brick-style cream cheese (softened to room temperature)
- 1/4 cup (60 grams) sour cream
- 1/2 cup (100 grams) granulated sugar
- 3 tablespoons (45 ml) key lime juice
- 1 teaspoon key lime zest (or regular lime zest)
- 1 teaspoon vanilla extract
- 1 drop green food dye
- 1 large egg (room temperature)
For Garnish
- 2 tablespoons fresh parsley, finely chopped
How to Make Mini Key Lime Cheesecakes
Step 1: Preheat the Oven
Preheat the oven to 325°F. Spray each cavity of a 12-count mini cheesecake pan well with nonstick cooking spray and set aside. You may also use a regular 12-count muffin pan; I suggest lining each cavity with cupcake liners for easier removal.
Step 2: Make the Graham Cracker Crust
- Add the graham crackers to a blender or food processor and process until you have fine crumbs.
- Scoop the crumbs into a mixing bowl, add melted butter and sugar, and mix until well combined.
- Evenly distribute this mixture between all 12 cavities in the mini cheesecake pan, pressing down firmly into an even layer.
- Bake at 325°F for 5 minutes, then remove from the oven and set aside to cool. Keep the oven temperature at 325°F.
Step 3: Prepare the Cheesecake Filling
- In the bowl of a stand mixer fitted with the paddle attachment—or in a large mixing bowl using an electric mixer—beat the cream cheese until smooth.
- Add sour cream and granulated sugar; mix until well combined.
- Add key lime juice, zest, vanilla extract, and green food dye; mix until fully combined, scraping down sides of the bowl as needed.
- Finally, add in the egg and mix on low speed until just combined.
Step 4: Fill and Bake
- Evenly distribute the cheesecake filling between all 12 cavities of the pan.
- Return to oven and bake at 325°F for 15-18 minutes or until tops are set.
Step 5: Cool and Chill
Remove from oven and allow cooling at room temperature for at least one hour. Cover tightly with plastic wrap and transfer to refrigerator to chill for at least 3-4 hours or overnight.
Step 6: Serve
Once chilled, remove cheesecakes from the pan, serve with your choice of garnish, and enjoy your delicious Mini Key Lime Cheesecakes!
How to Serve Mini Key Lime Cheesecakes
Mini Key Lime Cheesecakes are a delightful treat that can be served in various ways for any occasion. Here are some creative serving suggestions to elevate your dessert experience.
With Fresh Berries
- Blueberries: These juicy berries add a burst of flavor and color.
- Raspberries: Their tartness complements the sweetness of the cheesecake perfectly.
- Strawberries: Sliced or whole, they add a refreshing touch.
Topped with Whipped Cream
- Classic Whipped Cream: A dollop of whipped cream adds lightness and creaminess.
- Flavored Whipped Cream: Consider adding a hint of vanilla or coconut for extra flavor.
Drizzled with Sauce
- Key Lime Sauce: Enhance the key lime flavor with a sweet and tangy drizzle.
- Chocolate Sauce: For a richer dessert, drizzle some chocolate sauce on top.
Served in Individual Cups
- Mini Dessert Cups: Layer your cheesecakes in clear cups for an attractive presentation.
- Garnished with Mint: A sprig of fresh mint adds a pop of color and flavor.
How to Perfect Mini Key Lime Cheesecakes
To achieve the best results with your Mini Key Lime Cheesecakes, keep these tips in mind:
- Bold Temperature Control: Always preheat your oven to ensure even baking.
- Bold Cream Cheese Softness: Use room temperature cream cheese for a smooth filling.
- Bold Accurate Measuring: Measure ingredients precisely to avoid texture issues.
- Bold Cooling Time: Allow cheesecakes to cool completely at room temperature before chilling.
- Bold Quality Ingredients: Choose high-quality key lime juice for the best flavor.
Best Side Dishes for Mini Key Lime Cheesecakes
Pairing side dishes with Mini Key Lime Cheesecakes can enhance the overall meal. Here are some great options:
- Coconut Macaroons: Chewy and sweet, these cookies complement the citrusy cheesecake.
- Fruit Salad: A mix of seasonal fruits offers freshness alongside the rich flavors.
- Pineapple Salsa: The sweetness and acidity balance well with the cheesecakes’ richness.
- Chilled Lemonade: A refreshing beverage that enhances the zesty flavors of the dessert.
- Cheese Platter: A selection of cheeses adds savory notes that contrast nicely with sweetness.
- Minted Pea Salad: This light salad provides a refreshing palate cleanser between bites.
Common Mistakes to Avoid
When making Mini Key Lime Cheesecakes, it’s easy to run into a few common pitfalls. Here are some mistakes to watch out for:
- Skipping the room temperature ingredients: Using cold cream cheese or egg can lead to a lumpy cheesecake filling. Always allow these ingredients to come to room temperature before mixing.
- Not pressing the crust firmly: If you don’t press the graham cracker crust down enough, it may crumble when you try to serve the mini cheesecakes. Make sure to pack it tightly for a sturdy base.
- Overmixing the filling: Mixing too much can incorporate excess air, causing cracks in your cheesecakes. Mix just until combined for a smooth texture without overdoing it.
- Ignoring chilling time: Skipping the chilling step can result in a soft and unstable cheesecake. Allow enough time in the fridge for them to set properly before serving.
- Using bottled lime juice: Fresh key lime juice provides the best flavor. For optimal taste, always use fresh juice instead of bottled options.
Storage & Reheating Instructions
Refrigerator Storage
- Store mini key lime cheesecakes in an airtight container.
- They will last up to 5 days in the refrigerator.
- Make sure they are fully cooled before sealing them up.
Freezing Mini Key Lime Cheesecakes
- Wrap each cheesecake individually in plastic wrap.
- Place them in an airtight freezer-safe container.
- They can be frozen for up to 2 months.
Reheating Mini Key Lime Cheesecakes
- Oven: Preheat to 350°F and warm for about 10 minutes. This method helps retain texture.
- Microwave: Heat on low power for about 15-20 seconds at a time until warm. Be careful not to overheat as this can change the texture.
- Stovetop: Place in a covered pot with a small amount of water (double boiler method) and heat gently until warm. This method prevents direct heat which can dry them out.
Frequently Asked Questions
What are Mini Key Lime Cheesecakes?
Mini Key Lime Cheesecakes are bite-sized desserts featuring a creamy key lime filling atop a crunchy graham cracker crust, perfect for any occasion.
Can I make these Mini Key Lime Cheesecakes ahead of time?
Absolutely! These cheesecakes are great for making ahead. Just ensure that they chill properly before serving.
Can I use regular limes instead of key limes?
Yes, you can substitute regular limes if key limes are not available; however, the flavor will differ slightly.
How do I know when my Mini Key Lime Cheesecakes are done?
The tops should be set but still have a slight jiggle. They will firm up more as they cool and chill.
What toppings go well with Mini Key Lime Cheesecakes?
You can top them with whipped cream, lime zest, or even fresh fruit like berries for added flavor and presentation.
Final Thoughts
Mini Key Lime Cheesecakes are delightful treats that bring sunshine into your dessert table all year round. Their creamy texture and zesty flavor make them versatile enough for any occasion. Don’t hesitate to experiment with toppings or even mix-ins like coconut or fresh fruit! Give this recipe a try, and enjoy these little bites of heaven!
Did You Enjoy Making This Recipe? Please rate this recipe with ⭐⭐⭐⭐⭐ or leave a comment.
📖 Recipe Card
Print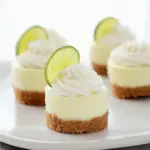
Mini Key Lime Cheesecakes
- Total Time: 43 minutes
- Yield: Makes 12 mini cheesecakes 1x
Description
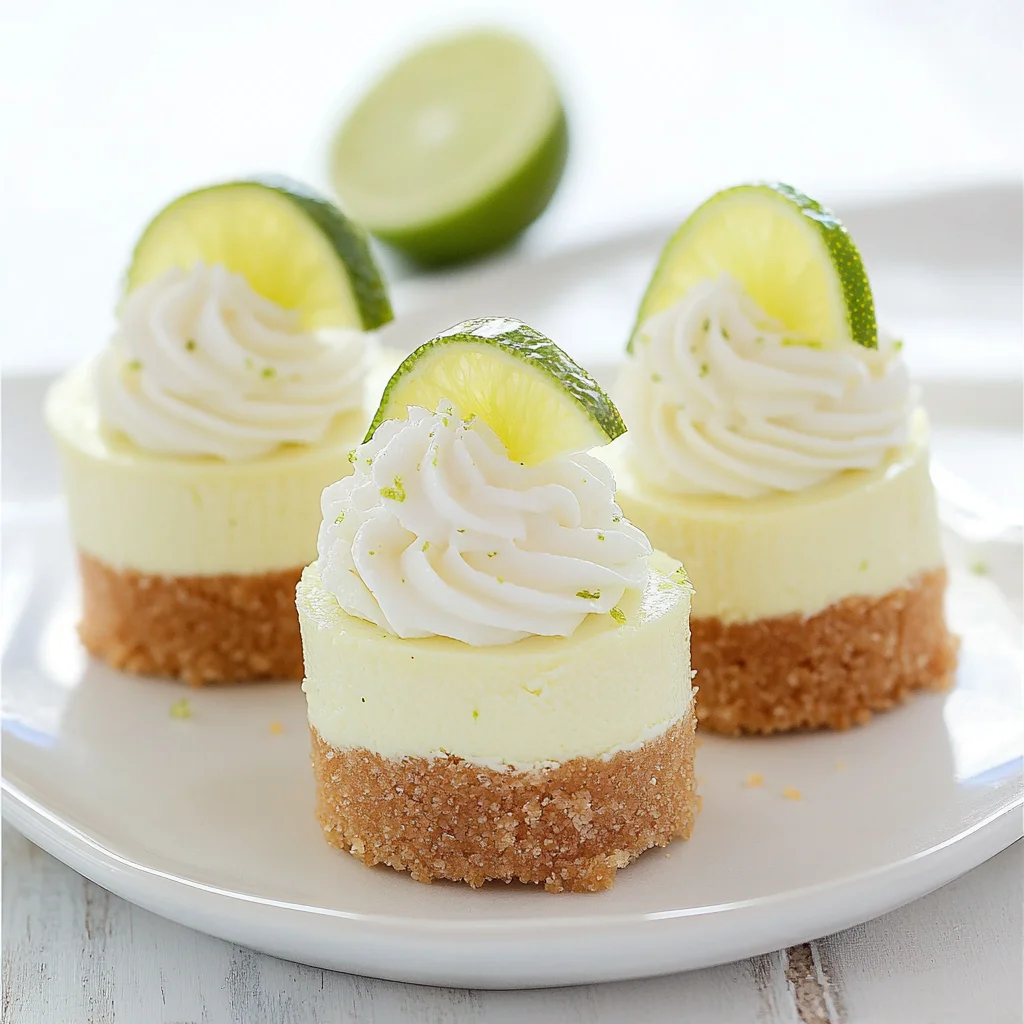
Mini Key Lime Cheesecakes are the perfect combination of creamy and zesty, delivering a refreshing burst of citrus flavor in every bite. These individually-sized desserts feature a crunchy graham cracker crust that beautifully complements the smooth key lime filling. Ideal for any occasion, from casual family get-togethers to elegant parties, these mini cheesecakes are quick to prepare and can be made ahead of time, allowing you to impress your guests without the last-minute rush. Top them with fresh berries or whipped cream for an extra touch of elegance, and allow yourself to indulge in these delightful treats!
Ingredients
- 6 full-sheets graham crackers (or 3/4 cup crumbs)
- 3 tablespoons butter (melted)
- 12 ounces cream cheese (softened)
- 1/4 cup sour cream
- 1/2 cup granulated sugar
- 3 tablespoons key lime juice
- 1 large egg (room temperature)
Instructions
- Preheat oven to 325°F and spray a mini cheesecake pan with nonstick cooking spray.
- For the crust, blend graham crackers into fine crumbs, mix with melted butter and sugar, then press into the pan. Bake for 5 minutes.
- Beat cream cheese until smooth, then add sour cream and sugar. Mix in key lime juice, zest, and egg until combined.
- Fill the crusts with cheesecake filling and bake for 15-18 minutes until set.
- Cool at room temperature for an hour; refrigerate for at least 3 hours before serving.
- Prep Time: 20 minutes
- Cook Time: 23 minutes
- Category: Dessert
- Method: Baking
- Cuisine: American
Nutrition
- Serving Size: 1 serving
- Calories: 180
- Sugar: 11g
- Sodium: 150mg
- Fat: 13g
- Saturated Fat: 7g
- Unsaturated Fat: 5g
- Trans Fat: 0g
- Carbohydrates: 14g
- Fiber: <1g
- Protein: 3g
- Cholesterol: 50mg