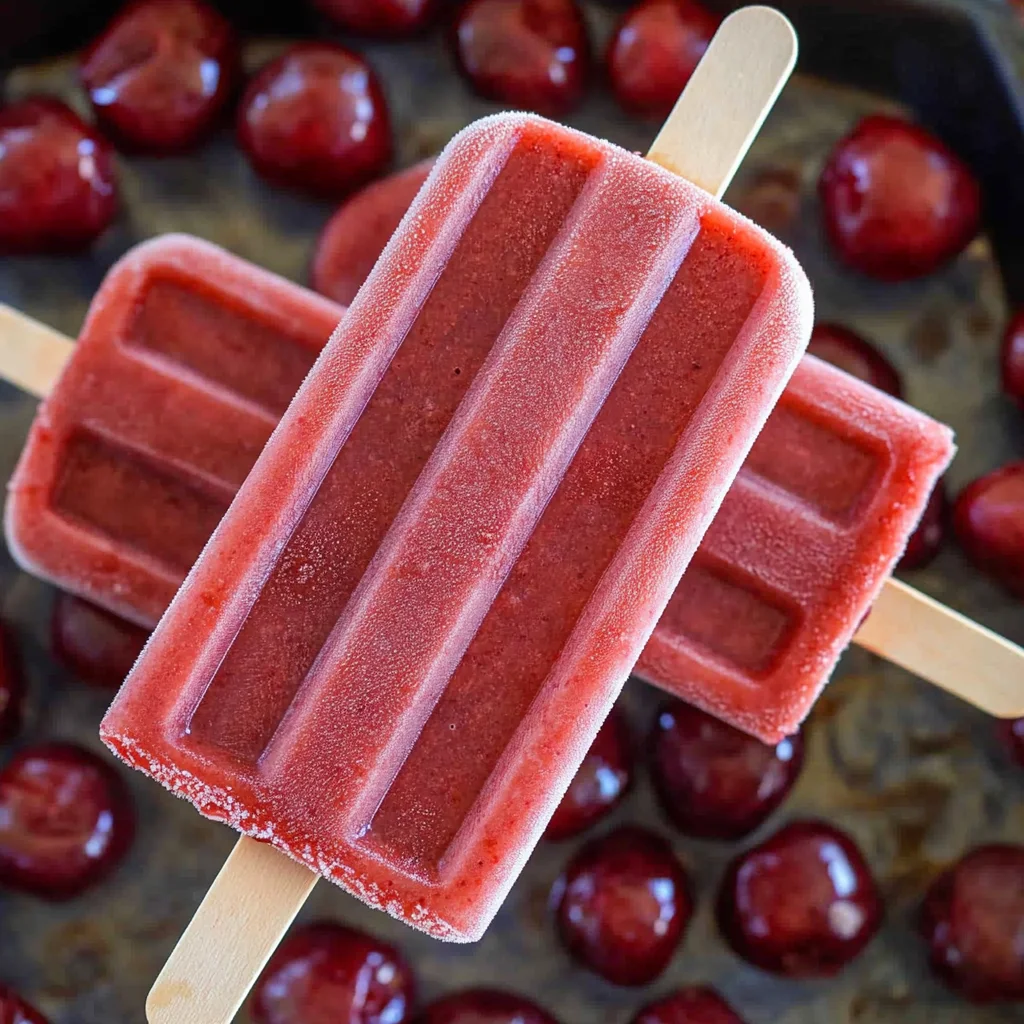
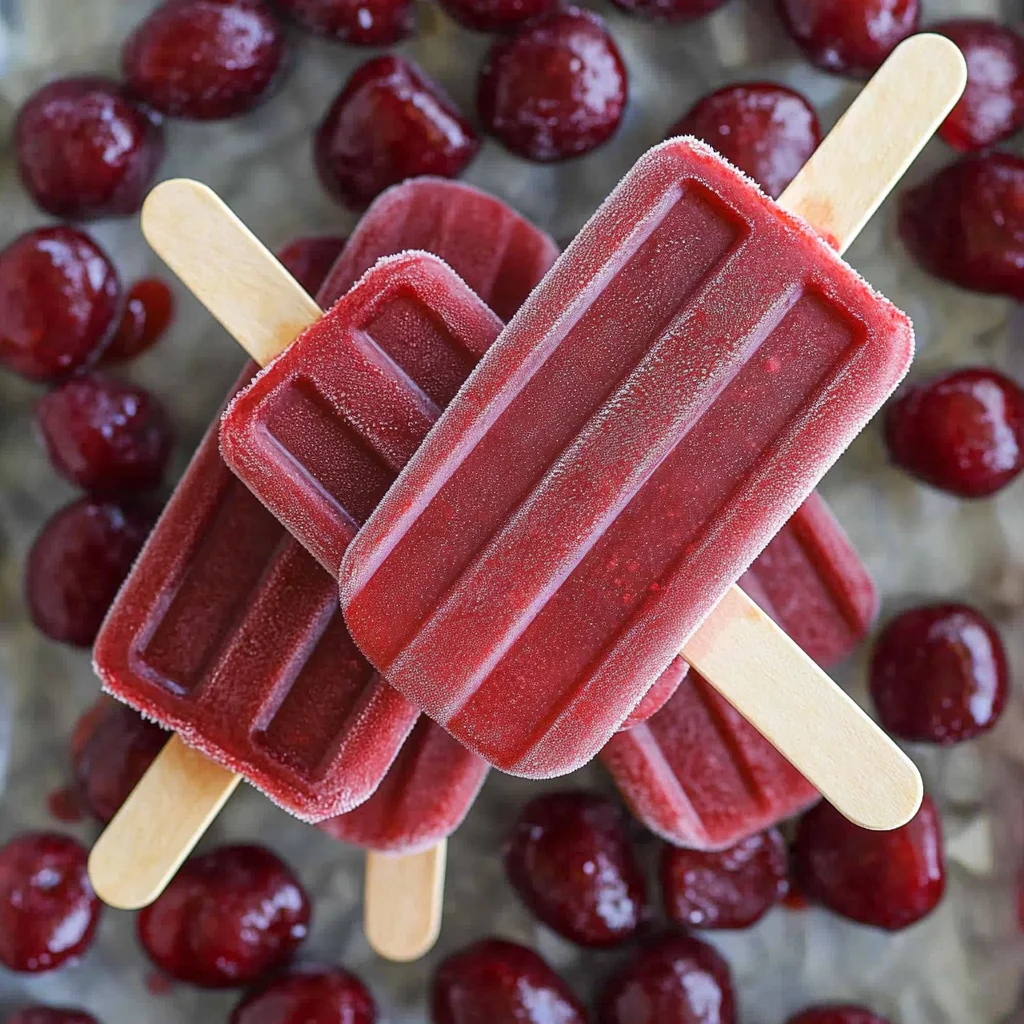
Homemade Cherry Ice Pops with only 3 ingredients! This delightful treat is perfect for hot summer days or any occasion that calls for a refreshing dessert. Easy to make and loved by both kids and adults, these cherry popsicles are a fantastic way to enjoy the sweet, tangy flavor of cherries. Plus, they are healthy and customizable, making them a standout choice for anyone looking to beat the heat.
Jump to:
- Why You’ll Love This Recipe
- Tools and Preparation
- Essential Tools and Equipment
- Importance of Each Tool
- Ingredients
- For the Cherry Ice Pops
- How to Make Homemade Cherry Ice Pops With Only 3 Ingredients!
- Step 1: Blend the Ingredients
- Step 2: Fill the Molds
- Step 3: Freeze
- Step 4: Enjoy!
- How to Serve Homemade Cherry Ice Pops With Only 3 Ingredients!
- Fun Summer Parties
- Movie Nights
- Playdates
- Family Gatherings
- How to Perfect Homemade Cherry Ice Pops With Only 3 Ingredients!
- Best Side Dishes for Homemade Cherry Ice Pops With Only 3 Ingredients!
- Common Mistakes to Avoid
- Storage & Reheating Instructions
- Refrigerator Storage
- Freezing Homemade Cherry Ice Pops With Only 3 Ingredients!
- Reheating Homemade Cherry Ice Pops With Only 3 Ingredients!
- Frequently Asked Questions
- How do I make Homemade Cherry Ice Pops With Only 3 Ingredients?
- Can I use fresh cherries instead of frozen ones?
- How long do Homemade Cherry Ice Pops last in the freezer?
- Can I customize my Homemade Cherry Ice Pops With Only 3 Ingredients?
- What’s the nutritional information for these ice pops?
- Final Thoughts
- 📖 Recipe Card
Why You’ll Love This Recipe
- Quick and Easy: With just 5 minutes of prep time, you can whip up these cherry ice pops without any fuss.
- Three Simple Ingredients: No complicated recipes here! Just frozen cherries, water, and your choice of sweetener.
- Healthy Treat: These homemade pops contain fewer calories than store-bought alternatives and are free from artificial ingredients.
- Family-Friendly Fun: Making these pops together can be a fun activity for the whole family—let the kids help!
- Versatile Flavors: You can swap cherries for any frozen fruit you like, making it easy to change things up.
Tools and Preparation
To create your homemade cherry ice pops, you’ll need a few essential tools. Having the right equipment makes all the difference in preparing this delicious treat.
Essential Tools and Equipment
- High-speed blender
- Ice pop molds
- Measuring cups
- Spoon
Importance of Each Tool
- High-speed blender: This tool quickly blends the ingredients into a smooth mixture, ensuring a creamy texture for your ice pops.
- Ice pop molds: These molds shape your popsicles perfectly. Choose fun shapes to make them even more appealing to children.
Ingredients
For the Cherry Ice Pops
- 2 cups frozen cherries
- 1 cup water
- 1-2 teaspoons honey (or agave, maple syrup, or sugar)
How to Make Homemade Cherry Ice Pops With Only 3 Ingredients!
Step 1: Blend the Ingredients
Combine all ingredients in a high-speed blender until you achieve a smooth consistency. Make sure there are no chunks left!
Step 2: Fill the Molds
Pour the blended mixture into your ice pop molds. Leave some space at the top of each mold as the mixture may expand when it freezes.
Step 3: Freeze
Place the filled molds in the freezer. Allow them to freeze for at least 4 hours or overnight for best results.
Step 4: Enjoy!
Once frozen solid, remove the ice pops from their molds. If they’re difficult to release, run warm water over the outside of the mold for a few seconds. Enjoy your homemade cherry ice pops on a sunny day!
How to Serve Homemade Cherry Ice Pops With Only 3 Ingredients!
Homemade Cherry Ice Pops with only 3 ingredients are a delightful treat perfect for any occasion. Here are some creative ways to serve these refreshing pops that both kids and adults will enjoy.
Fun Summer Parties
- Charming Presentation: Serve the cherry ice pops on colorful plates or in decorative cups to add a fun touch to your summer gatherings.
- Fruit Garnish: Add fresh cherries or mint leaves on top for an extra pop of color and flavor.
Movie Nights
- Cozy Treats: Pair your homemade cherry ice pops with popcorn for a relaxing movie night at home.
- DIY Snack Bar: Create a snack station with various dips and toppings like chocolate sauce or sprinkles for added fun.
Playdates
- Kid-Friendly Fun: Let the kids help make their own pops by choosing their favorite fruits or toppings.
- Themed Colors: Match the popsicles with party themes by using different fruit flavors and colors.
Family Gatherings
- Interactive Dessert: Set up a decorating station where guests can add toppings or sauces to their cherry ice pops.
- Ice Pop Challenge: Have a friendly competition to see who can create the most delicious combination of toppings.
How to Perfect Homemade Cherry Ice Pops With Only 3 Ingredients!
Making perfect homemade cherry ice pops requires just a few simple tips. Here’s how you can enhance your cherry popsicle experience.
- Bold Flavors: Experiment with different types of sweeteners like agave or maple syrup for unique tastes.
- Frozen Fruit Quality: Use high-quality frozen cherries for the best flavor; fresh cherries can also be used if in season.
- Blend Well: Ensure all ingredients are blended until smooth to achieve the perfect creamy texture.
- Mold Choices: Choose fun-shaped molds to make your ice pops more appealing, especially for kids.
- Longer Freezing Time: For best results, freeze the pops overnight rather than just four hours, ensuring they are solid throughout.
Best Side Dishes for Homemade Cherry Ice Pops With Only 3 Ingredients!
These homemade cherry ice pops pair wonderfully with various side dishes. Here are some great options to complement your dessert:
- Fresh Fruit Salad: A mix of seasonal fruits adds freshness and balances the sweetness of the ice pops.
- Cheese Platter: A selection of cheeses creates a savory contrast, making it a perfect pairing for dessert.
- Nuts Variety: Roasted nuts provide a crunchy texture that pairs well with the soft cherry ice pops.
- Granola Bars: These chewy snacks offer an energy boost and can be enjoyed alongside your refreshing treats.
- Veggie Sticks with Dip: Crisp vegetables served with hummus or ranch dip add a healthy crunch to your dessert spread.
- Mini Sandwiches: Bite-sized sandwiches filled with cream cheese or turkey make for delightful finger foods that everyone will love.
Common Mistakes to Avoid
Making Homemade Cherry Ice Pops With Only 3 Ingredients is simple, but there are a few common mistakes to watch out for. Here’s how to ensure your popsicles turn out perfect every time.
- Using fresh cherries: Fresh cherries won’t blend as smoothly and might result in a chunky texture. Always use frozen cherries for the best consistency.
- Skipping the sweetener: Some may think they don’t need sweetener with ripe cherries. However, adding honey or agave enhances flavor. Adjust the sweetness to your taste.
- Not blending enough: A quick blend might leave chunks of fruit. Blend until smooth for a creamy popsicle experience.
- Overfilling molds: Filling the molds too much can cause spills as they freeze. Leave a little space at the top to avoid messes.
- Neglecting freezer time: Rushing the freezing process will lead to soft pops. Make sure you freeze them for at least 4 hours or overnight.
Storage & Reheating Instructions
Refrigerator Storage
- Store any leftover mixture in an airtight container.
- Keep it in the refrigerator for up to 2 days before freezing.
Freezing Homemade Cherry Ice Pops With Only 3 Ingredients!
- Use sturdy ice pop molds for best results.
- Freeze for a minimum of 4 hours or overnight for optimal firmness.
Reheating Homemade Cherry Ice Pops With Only 3 Ingredients!
- Oven: Not applicable; these treats should not be heated.
- Microwave: Avoid using the microwave, as it will melt the pops too quickly.
- Stovetop: Do not reheat on the stovetop; these pops are meant to be enjoyed frozen.
Frequently Asked Questions
How do I make Homemade Cherry Ice Pops With Only 3 Ingredients?
To make these delicious cherry ice pops, blend frozen cherries, water, and your choice of sweetener together until smooth. Pour into molds and freeze!
Can I use fresh cherries instead of frozen ones?
Yes, you can use fresh cherries, but they may require more blending and will yield a different texture. Frozen cherries provide a smoother consistency.
How long do Homemade Cherry Ice Pops last in the freezer?
These ice pops can last up to 3 months in the freezer when stored properly in airtight molds.
Can I customize my Homemade Cherry Ice Pops With Only 3 Ingredients?
Absolutely! Feel free to add other fruits or flavorings like lemon juice for a twist on this recipe.
What’s the nutritional information for these ice pops?
Each homemade cherry ice pop contains about 48 calories per serving, with around 12 grams of carbohydrates.
Final Thoughts
Homemade Cherry Ice Pops With Only 3 Ingredients are a delightful treat that everyone will love! They are easy to make and allow for plenty of customization options. Experiment with different fruits or sweeteners, and enjoy this refreshing dessert any time of year!
Did You Enjoy Making This Recipe? Please rate this recipe with ⭐⭐⭐⭐⭐ or leave a comment.
📖 Recipe Card
Print
Homemade Cherry Ice Pops
- Total Time: 4 hours 5 minutes
- Yield: Approximately 6 servings 1x
Description
Indulge in the refreshing taste of Homemade Cherry Ice Pops with just three simple ingredients! Perfect for warm summer days or any occasion, these delightful popsicles are a hit with both kids and adults. Made with frozen cherries, water, and your favorite sweetener, they are not only easy to whip up but also a healthier alternative to store-bought treats. These cherry ice pops offer a sweet, tangy burst of flavor while being customizable to suit your taste.
Ingredients
- 2 cups frozen cherries
- 1 cup water
- 1–2 teaspoons honey (or agave syrup, maple syrup, or sugar)
Instructions
- In a high-speed blender, combine the frozen cherries, water, and sweetener until smooth.
- Carefully pour the mixture into ice pop molds, leaving space at the top for expansion.
- Freeze for at least 4 hours or overnight for optimal firmness.
- To serve, run warm water over the outside of the mold if needed, then gently remove the pops.
- Prep Time: 5 minutes
- Cook Time: 4 hours
- Category: Dessert
- Method: Freezing
- Cuisine: American
Nutrition
- Serving Size: 1 ice pop (45g)
- Calories: 48
- Sugar: 10g
- Sodium: 1mg
- Fat: 0g
- Saturated Fat: 0g
- Unsaturated Fat: 0g
- Trans Fat: 0g
- Carbohydrates: 12g
- Fiber: 1g
- Protein: 0g
- Cholesterol: 0mg