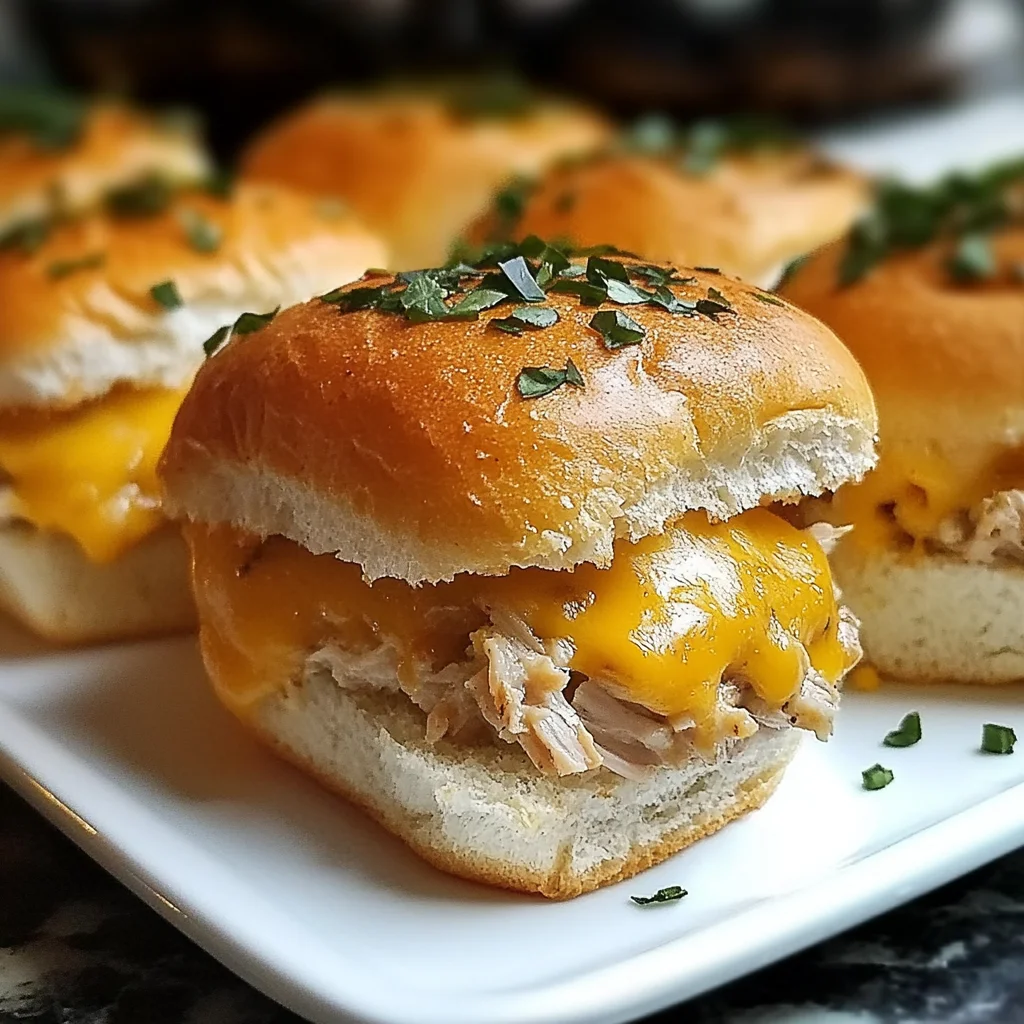
The Cheesy Tuna Melt Sliders are a delightful twist on a classic favorite. Perfect for parties, game nights, or casual family dinners, these sliders combine creamy tuna salad with gooey cheese and buttery bread. They’re easy to prepare and sure to impress your guests with their comforting flavors and satisfying textures.
Jump to:
- Why You’ll Love This Recipe
- Tools and Preparation
- Essential Tools and Equipment
- Importance of Each Tool
- Ingredients
- For the Tuna Filling
- For the Sliders
- For Garnish
- How to Make Cheesy Tuna Melt Sliders
- Step 1: Preheat the Oven
- Step 2: Prepare the Tuna Filling
- Step 3: Assemble the Sliders
- Step 4: Add Butter and Bake
- Step 5: Broil for Extra Crispiness
- Step 6: Garnish and Serve
- How to Serve Cheesy Tuna Melt Sliders
- Casual Gatherings
- Game Day Parties
- Family Dinners
- How to Perfect Cheesy Tuna Melt Sliders
- Best Side Dishes for Cheesy Tuna Melt Sliders
- Common Mistakes to Avoid
- Storage & Reheating Instructions
- Refrigerator Storage
- Freezing Cheesy Tuna Melt Sliders
- Reheating Cheesy Tuna Melt Sliders
- Frequently Asked Questions
- What makes Cheesy Tuna Melt Sliders so popular?
- Can I customize my Cheesy Tuna Melt Sliders?
- How do I make Cheesy Tuna Melt Sliders healthier?
- Can I prepare Cheesy Tuna Melt Sliders ahead of time?
- Final Thoughts
- 📖 Recipe Card
Why You’ll Love This Recipe
- Quick to Prepare: These sliders come together in no time, making them perfect for last-minute gatherings.
- Delicious Flavor: The combination of tuna, cheese, and seasonings creates a mouthwatering taste that everyone will love.
- Customizable: Feel free to add your favorite ingredients or adjust the seasonings to suit your taste.
- Perfect for Any Occasion: Whether it’s a lunch, dinner, or snack time, these sliders fit the bill.
- Kid-Friendly: With their cheesy goodness, kids will enjoy every bite!
Tools and Preparation
Having the right tools makes preparing Cheesy Tuna Melt Sliders easier and more enjoyable. Here’s what you’ll need:
Essential Tools and Equipment
- Baking dish
- Mixing bowl
- Spoon or spatula
- Knife
Importance of Each Tool
- Baking dish: A good baking dish ensures even cooking and browning of your sliders.
- Mixing bowl: It provides ample space for mixing the tuna salad ingredients efficiently.
Ingredients
For the Tuna Filling
- 1 can (5 oz) tuna, drained
- 1/4 cup mayonnaise
- 1/4 cup celery, chopped
- 1 tablespoon onion, finely chopped
- 1 teaspoon Dijon mustard
- Salt and pepper to taste
For the Sliders
- 8 slider buns
- 1 cup shredded cheese (cheddar or mozzarella)
- 2 tablespoons butter, melted
For Garnish
- 2 tablespoons fresh parsley, finely chopped
How to Make Cheesy Tuna Melt Sliders
Step 1: Preheat the Oven
Preheat your oven to 350°F (175°C). This is essential for getting those sliders perfectly toasted.
Step 2: Prepare the Tuna Filling
In a mixing bowl, combine the following ingredients:
1. Drained tuna
2. Mayonnaise
3. Chopped celery
4. Finely chopped onion
5. Dijon mustard
6. Salt and pepper
Mix thoroughly until all ingredients are well combined.
Step 3: Assemble the Sliders
- Cut each slider bun in half.
- Spread a generous amount of the tuna filling on the bottom half of each bun.
- Sprinkle shredded cheese over the tuna mixture.
- Place the top halves of the buns back on.
Step 4: Add Butter and Bake
Brush the tops of the assembled sliders with melted butter for added flavor and crispiness.
Place them in a baking dish and cover with aluminum foil. Bake in preheated oven for about 15 minutes.
Step 5: Broil for Extra Crispiness
Remove the foil and switch your oven setting to broil. Broil for an additional 2-3 minutes until golden brown and bubbly.
Step 6: Garnish and Serve
Once baked, remove from oven and let cool slightly. Sprinkle with fresh parsley before serving warm.
Enjoy your scrumptious Cheesy Tuna Melt Sliders at your next gathering!
How to Serve Cheesy Tuna Melt Sliders
Cheesy Tuna Melt Sliders are a delightful dish that can be served in various ways. Whether you’re hosting a party or enjoying a cozy family dinner, these sliders can be paired with different sides and drinks to enhance the meal.
Casual Gatherings
- Serve with Chips: Pair the sliders with crunchy potato chips for a casual munching experience.
- Add Pickles: Serve alongside dill pickles for a tangy crunch that complements the creamy tuna.
Game Day Parties
- Buffalo Sauce: Drizzle some buffalo sauce over the sliders for an extra kick.
- Veggie Platter: Include a fresh vegetable platter with ranch dip to balance the flavors.
Family Dinners
- Side Salad: A simple green salad with vinaigrette can lighten up the meal.
- Fruit Skewers: Offer colorful fruit skewers as a refreshing side option.
How to Perfect Cheesy Tuna Melt Sliders
To make your Cheesy Tuna Melt Sliders even better, follow these helpful tips for perfect results every time.
- Choose Quality Bread: Use fresh slider buns that are soft yet sturdy enough to hold the filling without falling apart.
- Don’t Overmix: Mix the tuna filling just enough to combine ingredients; overmixing can make it mushy.
- Use Fresh Ingredients: Opt for fresh herbs and vegetables to enhance flavor and texture.
- Add Cheese Variations: Experiment with different cheeses like mozzarella or pepper jack for unique flavors.
- Broil for Extra Crispness: Broil the sliders for a couple of minutes at the end to achieve a crispy top layer.

Best Side Dishes for Cheesy Tuna Melt Sliders
Pairing your Cheesy Tuna Melt Sliders with great side dishes can elevate your meal. Here are some excellent options to consider:
- Coleslaw: A creamy coleslaw adds crunch and contrasting flavors.
- Sweet Potato Fries: Crispy sweet potato fries bring sweetness that balances the savory sliders.
- Tomato Soup: Classic tomato soup is comforting and pairs well with cheesy sliders.
- Garlic Breadsticks: Soft garlic breadsticks are perfect for dipping into any leftover sauces or soups.
- Roasted Vegetables: A mix of roasted veggies adds color and nutrition to your plate.
- Macaroni Salad: This classic side dish is creamy and complements the tuna flavors nicely.
Common Mistakes to Avoid
When making Cheesy Tuna Melt Sliders, it’s easy to make a few common mistakes. Here are some tips to help ensure your sliders turn out perfectly.
- Using stale bread: Fresh bread is essential for the best texture. Always use soft, fresh rolls to prevent a dry or tough slider.
- Overcooking the tuna: Overcooked tuna can become dry and lose flavor. Use canned tuna in water or oil and mix gently to keep it moist.
- Skipping seasoning: Lack of seasoning can lead to bland sliders. Don’t forget to add salt, pepper, and any other spices you enjoy for a flavorful bite.
- Not allowing cheese to melt properly: If the cheese isn’t melted, your sliders won’t have that gooey texture. Broil the sliders briefly at the end for a perfect melt.
- Assembling too early: Assembling sliders too far in advance can lead to soggy bread. Prepare them just before baking for the best results.
Storage & Reheating Instructions
Refrigerator Storage
- Keep your Cheesy Tuna Melt Sliders in an airtight container.
- They can be stored in the fridge for up to 3 days.
- Place parchment paper between layers if stacking to avoid sticking.
Freezing Cheesy Tuna Melt Sliders
- Wrap each slider tightly in plastic wrap or aluminum foil.
- Store them in a freezer-safe bag or container for up to 2 months.
- Label and date the container for easy identification later.
Reheating Cheesy Tuna Melt Sliders
- Oven: Preheat the oven to 350°F (175°C) and place sliders on a baking sheet. Heat for about 10-15 minutes until warmed through and cheese is melted.
- Microwave: Place sliders on a microwave-safe plate and cover with a damp paper towel. Heat on medium power for 30 seconds, checking frequently.
- Stovetop: Heat a skillet over medium heat, add a little butter, and cook sliders for about 2-3 minutes on each side until heated through and crispy.
Frequently Asked Questions
What makes Cheesy Tuna Melt Sliders so popular?
Cheesy Tuna Melt Sliders are loved because they combine creamy tuna salad with melted cheese on soft rolls, creating a comforting and delicious meal perfect for any occasion.
Can I customize my Cheesy Tuna Melt Sliders?
Absolutely! Feel free to add ingredients like diced onions, celery, or your favorite herbs to enhance flavor and texture according to your taste preferences.
How do I make Cheesy Tuna Melt Sliders healthier?
You can use whole grain rolls, low-fat cheese, or substitute Greek yogurt for mayonnaise in the tuna mix for a healthier option without sacrificing taste.
Can I prepare Cheesy Tuna Melt Sliders ahead of time?
Yes! You can assemble the sliders ahead of time and store them in the fridge until you’re ready to bake them. This makes them perfect for meal prep or parties!
Final Thoughts
Cheesy Tuna Melt Sliders are not only delicious but also incredibly versatile. You can easily customize them with various ingredients or serve them as appetizers or main dishes. Give this recipe a try; you’ll love how simple yet satisfying it is!
Did You Enjoy Making This Recipe? Please rate this recipe with ⭐⭐⭐⭐⭐ or leave a comment.
📖 Recipe Card
Print
Cheesy Tuna Melt Sliders
- Total Time: 30 minutes
- Yield: Makes approximately 8 servings 1x
Description
Indulge in the ultimate comfort food with Cheesy Tuna Melt Sliders. These mini delights are a modern twist on a classic favorite, featuring creamy tuna salad nestled between soft slider buns, topped with gooey cheese, and baked to perfection. Perfect for any occasion—be it game nights, casual family dinners, or potlucks—these sliders are easy to whip up and sure to impress your guests. With a blend of rich flavors and textures, each bite delivers a satisfying experience that will have everyone coming back for more. Plus, they’re customizable! Add your favorite ingredients or spices to make them uniquely yours.
Ingredients
- 1 can (5 oz) tuna, drained
- 1/4 cup mayonnaise
- 1/4 cup celery, chopped
- 1 tablespoon onion, finely chopped
- 1 teaspoon Dijon mustard
- Salt and pepper to taste
- 8 slider buns
- 1 cup shredded cheese (cheddar or mozzarella)
- 2 tablespoons butter, melted
- Fresh parsley for garnish
Instructions
- Preheat oven to 350°F (175°C).
- In a mixing bowl, combine drained tuna, mayonnaise, chopped celery, onion, Dijon mustard, salt, and pepper until well mixed.
- Slice slider buns in half and spread the tuna mixture on the bottom half.
- Top with shredded cheese and place the top half of the buns back on.
- Brush tops with melted butter and arrange in a baking dish. Cover with foil and bake for about 15 minutes.
- Remove foil and broil for an additional 2-3 minutes until golden brown.
- Garnish with fresh parsley before serving warm.
- Prep Time: 10 minutes
- Cook Time: 20 minutes
- Category: Appetizer
- Method: Baking
- Cuisine: American
Nutrition
- Serving Size: 1 slider (70g)
- Calories: 260
- Sugar: 2g
- Sodium: 620mg
- Fat: 14g
- Saturated Fat: 7g
- Unsaturated Fat: 6g
- Trans Fat: 0g
- Carbohydrates: 25g
- Fiber: 1g
- Protein: 10g
- Cholesterol: 30mg